

Every badminton player aspires to maintain the best racket possible. Maintaining your racket is crucial for optimal performance, longevity, and safety. For instance, clashing or examining an improperly wrapped racket during travel may cause it to break.
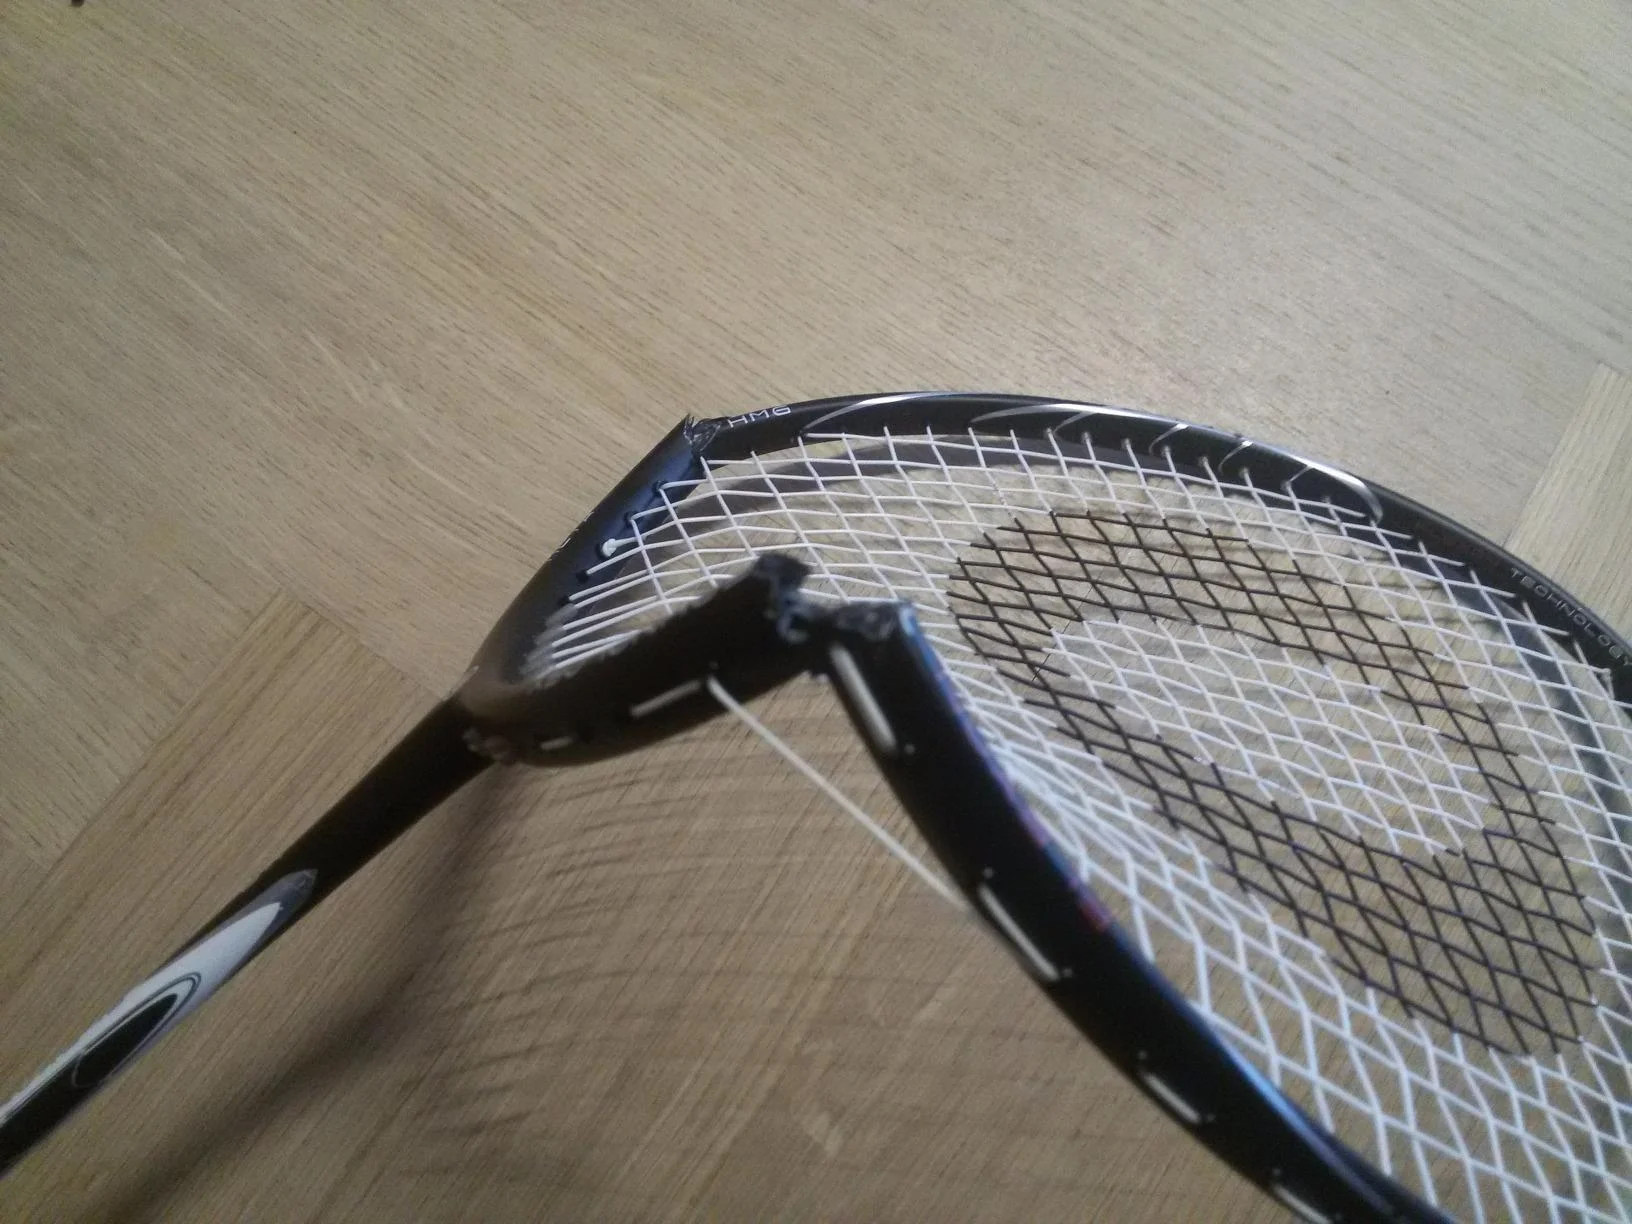
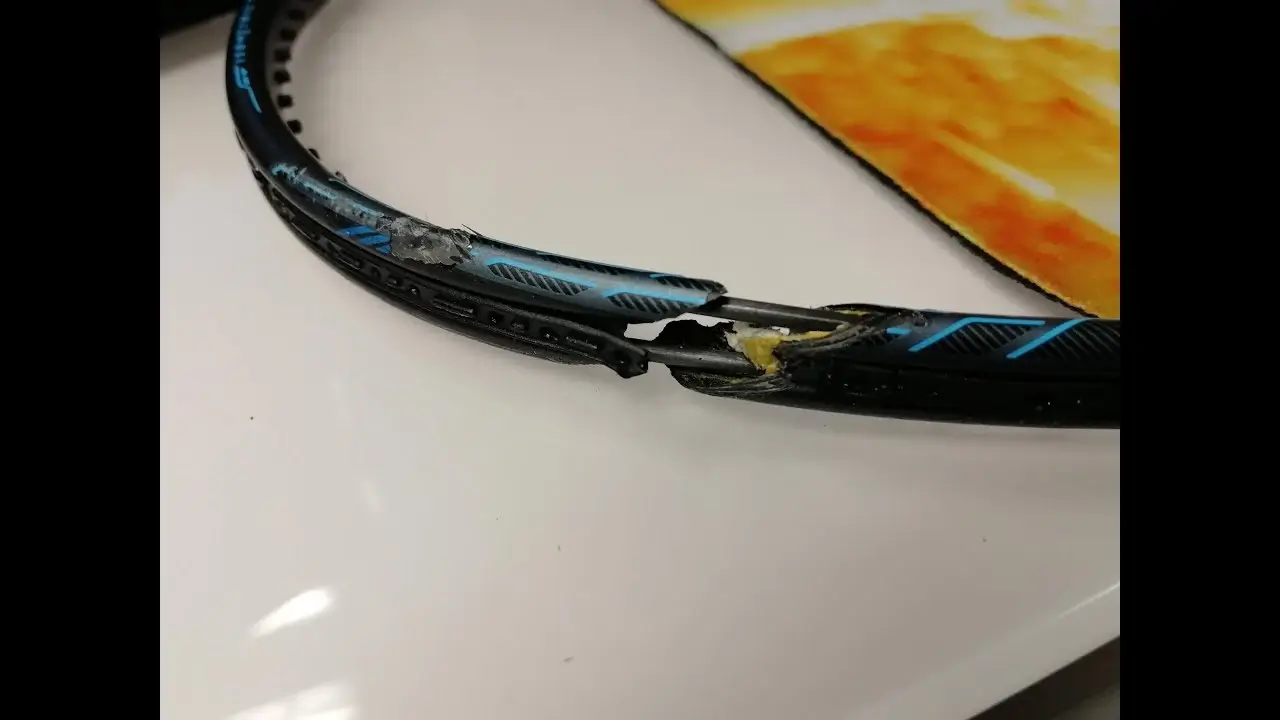
But that shouldn’t spell the end for your priceless machinery. If you know how to fix a racket, you can still use it for a few more games while you wait to get a new one. The head of most rackets cracks or breaks.
It’s important to remember that harm sometimes cannot be fixed. But, if it only breaks or snaps at one location, you can attempt to repair the apparatus using the following techniques.
Also read: How to maintain your badminton racket?
Steps to fix a broken badminton racket
Let’s begin with:
Step 1: Place a sheet of paper on your work surface
Always spread a sheet of paper or cloth on the table if you are working with an adhesive or water while fixing or cleaning your badminton racket.

It is so because it will prevent accidental glue drips or water drops from sticking or spreading on the table. Also, it will be easy for you to clean the mess at the end after completing your task.
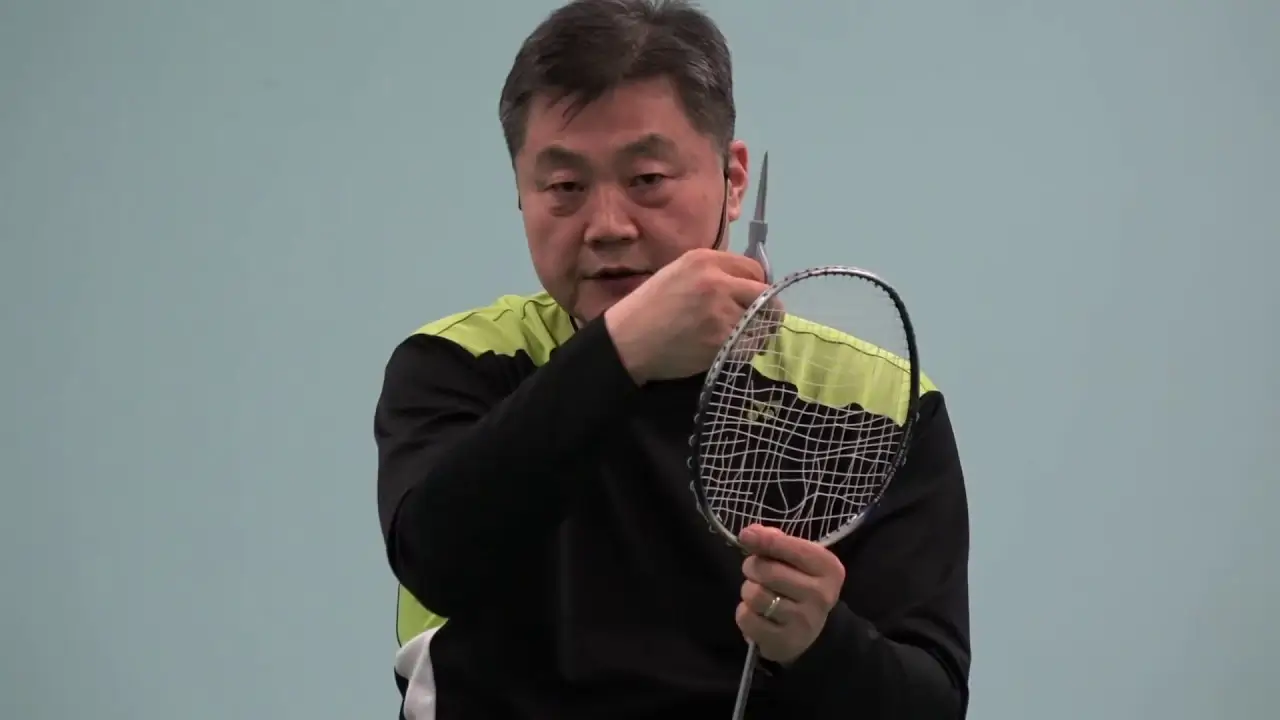
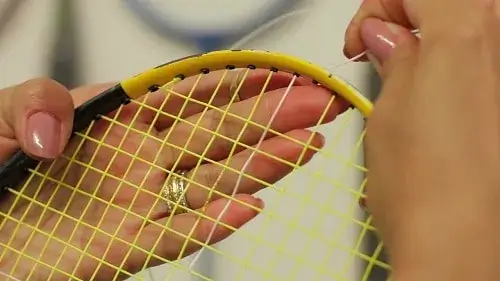
Step 2: Remove the strings
The second thing you need to do is remove the strings from the racket because you cannot fix it with the strings intact.
So after removing the existing cords, you also need to remove the grommets around the broken part of the racket. It will help you to speed up and fix the racket adequately.
Step 3: Clean the racket at the broken point
After removing the strings and grommets from the broken area, you must clear the coating around the disjointed area.
There are two different methods to do so. Either you can use a mini hand grinder or file it manually. Whatever method you choose, take care not to consume the mainframe.
Step 4: Make two holes on both ends at broken point of the frame
After cleaning the racket’s broken part, you’ll need to use tiny iron nails to strengthen the joint between the damaged ends. And drill two holes on either side of the fractured ends.

It will aid in holding the adhesive and tiny nails. And ensure that the two holes on one end of the piece face the opposing pair.
Step 5: Apply a Strong Adhesive to the both ends
In this step, you must use a powerful adhesive, such as epoxy resin or super glue, on both sides and generously spread it.

Then force some adhesive into the pre-drilled holes simultaneously using a sharp-pointed tool.
Step 6: Insert the Nails or Strong Wires Into the Holes
In this step, quickly insert two nails into their respective holes before the adhesive glue dries. But don’t forget to take the nail heads off.
Also, remember that the nails should be positioned in the correct order so the fractured ends can easily snap back into place.
Step 7: Join the Ends and Apply an Adhesive
As you join the frame’s two ends, ensure each nail goes in the opposite hole. So that the two nails are covered, push them together.

Apply the strong adhesive next to the previously cleaned frame’s exterior surface. And then, carefully clean the epoxy-resin-filled cracked area with a strip of cloth.
Step 8: Reinforce with Heat Shrink Tape
The setup must remain securely connected, so wrapping a heat-shrinkable material around the junction is ideal.
After that, let it dry for a day or two.
Step 9: Remove the Heat Shrink and Underlying Fabric
Remove the heat-shrink material with caution once the joint has cured. Cutting it with a razor blade and then removing the rest of the wrapping will make that simple.
It requires effort to unwrap the fabric because it is glued to the frame. So carefully remove the cloth using a hand grinder. To leave a smooth finish, file that area next.
Step 10: Bore the Holes for the Grommets
You most likely blocked several grommet holes while repairing the badminton. Decide where they are and drill again. Here’s how you approach it: After boring the hole on one side, note the location of the holes on a piece of paper by laying it on top of the holes.

The holes on the racket should be facing downward. Position the designated paper precisely so that you can see where the holes are. Mark the spot where you’ll bore the holes so they line up with the opposite end using a pen.
Step 11: Smoothen the Holes and Insert the Grommets
After you’re done drilling, use a file to polish the ends of the holes.

After that, place fresh grommets in the appropriate places.
Step 12: Restring the Racket
After the repair, string the badminton racket by hand or machine. Even though a stringing machine makes the job easier, you could skip it too. That’s especially true if you use the racket primarily for recreational activities.

Conversely, it’s not as difficult to fix a little crack. Let the adhesive seep into the surrounding tiny fissure. For around 15 to 30 minutes, let the setup dry up unmolested. The final thin adhesive coating should be applied over the preceding one.
Also learn: How often should you change your racket strings?
Final Words
Repairing a broken racket gives you another chance to use the coveted racket, despite being somewhat demanding. The steps outlined in this essay are more beneficial for new players or casual gamers. You might use the racket for a few more months and matches, even if it isn’t as durable as previously.
And in case you face any problems or have any questions regarding this post, feel free to ask us or pin them up in the comment section below.